Overview
When
objects (pictures, shapes, text boxes, WordArt, etc.) are added to a Microsoft
Office document, they automatically stack in individual layers. You can see the stacking order when you
overlap them. This is a fun little project to teach kids about how to work with Microsoft PowerPoint objects and how to move them from one layer to another. NOTE: This concept is transferable to many other applications.
At a Glance
|
Grade Level: 4+
Time Required: 25 minutes Curriculum Connection: N/A |
Vocabulary
|
Tech Skills
How to work with layered objects in Microsoft PowerPoint:
|
Planning Ahead
|
Resources
|
Preparation
| ||
|
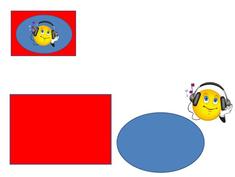
Activity 1: Stack the objects to recreate the image at the top.
|
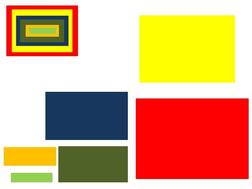
Activity 2: Stack the objects to recreate the image at the top.
|
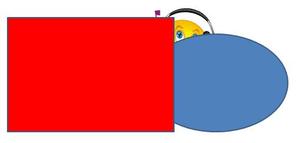
Activity 3: Stack the objects to create a funny face.

|
Instructional Plan
By using the printed objects, start the class by describing how layers work. Show them how a larger object can completely obscure a smaller object which is behind it.
Then demonstrate how to right click an object to bring up a menu which allows you to:
Tip #1: Some students get frustrated when they drag a smaller object over a larger object and it disappears. First, remind them they can "undo" whenever they are unhappy with an action. I suggest that kids overlap objects to see the layering effect before taking action. Here's an example:
|
Assessment
Check to see the students were able to complete the activity properly.
|